The runners who blow up on race day usually did not miss fitness. They missed context. If you want to know how to analyze trail race terrain, start by treating the course like a performance variable, not background scenery. Terrain dictates pacing, fueling rhythm, footing, gear choices, and how much damage your legs absorb long before the finish line.
A race profile with total mileage and elevation gain is not enough. Two courses can both show 50K and 7,000 feet of gain and race completely differently. One may be smooth, runnable, and steady. The other may be loose, steep, exposed, and full of short climbs that never let you settle. That difference matters more than the headline stats.
How to analyze trail race terrain before race day
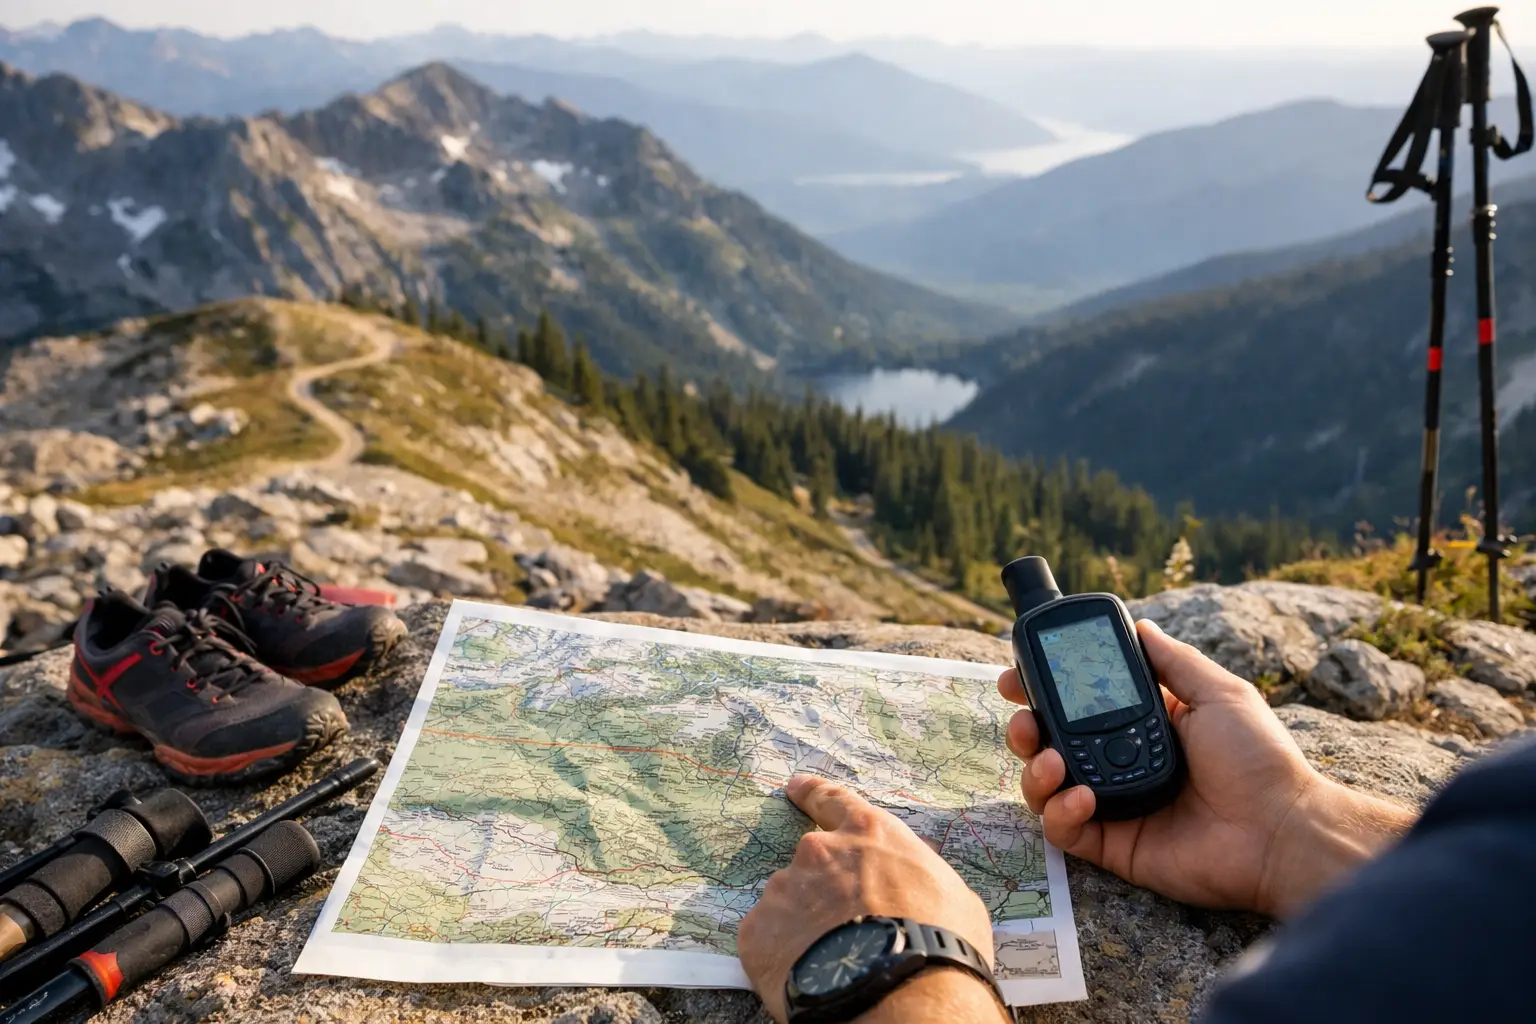
Start with the course map, but do not stop there. You need to break the route into usable sections. Think in terms of climbs, descents, flats, technical zones, aid station gaps, and transitions where the terrain changes enough to affect pace or effort.
The first job is to identify the shape of the course. Is it front-loaded with climbing? Does the hardest descent come late, when your quads are already cooked? Are there repeated punchy rollers that make fueling harder than a steady climb would? Terrain analysis is not just about seeing where the course goes up and down. It is about understanding when the course asks for restraint, when it rewards running, and when it punishes overconfidence.
Read the elevation profile like a racer
Most runners look at an elevation chart and only see the tallest climb. That is a mistake. The more useful questions are about grade, duration, and sequencing.
A 2,000-foot climb over 5 miles is very different from a 2,000-foot climb over 2 miles. The first may be a controlled power hike or steady run. The second may force hiking early and spike heart rate if you attack it. Look for long sustained efforts versus stair-step climbing. Sustained climbs test aerobic control. Broken climbs with false flats can bait runners into surging too often.
On descents, grade matters just as much. A moderate downhill on smooth singletrack can be free speed. A steep descent on rock, dust, or roots can become a braking contest that shreds your quads and ankles. If the biggest downhill comes before a major climb, it may feel easy. If it comes after six hours of racing, it can decide your day.
Also check where the profile lies to you. Some charts smooth out steep pitches or make short violent climbs look harmless. Zoomed-in route data, split sections, and 3D mapping usually expose what the simple profile hides.
Study surface, not just elevation
Elevation tells you the workload. Surface tells you the cost.
A runnable dirt road climb and a rocky ridgeline climb at the same grade are not equal. One supports rhythm. The other breaks rhythm every few steps. The same goes for descents. Hard-packed switchbacks, loose jeep roads, wet roots, slab rock, sand, snow patches, and creek crossings all change how fast you can move and how much energy you spend doing it.
When analyzing terrain, ask what kind of stride the surface allows. Can you open up and run naturally, or will you be making constant micro-adjustments? Technical terrain adds cognitive load. That means more fatigue, slower fueling, and less consistent pacing. If you have to look at your feet for an hour, your race is different than if you can glance up the trail and move freely.
This is where course intelligence becomes useful. A platform like TrailSight helps organize terrain changes, route sections, and aid station context into something you can actually use in training and planning, instead of forcing you to piece it together from scattered race materials.
How to analyze trail race terrain by section
The best way to make the course actionable is to divide it into race-relevant segments. Start at aid stations, major climbs, major descents, and obvious terrain transitions. Then label each section by how it races, not just by distance.
One segment might be a controlled start on wide trail where the main risk is going too fast. Another might be a steep climb where hiking is faster and cheaper than forced running. Another might be a technical descent where passing opportunities disappear and foot placement matters more than raw fitness.
Define the demands of each segment
For every section, determine four things: expected movement type, pacing limit, fueling opportunity, and likely failure point.
Movement type means whether you will mostly run, hike, hike-run, or descend cautiously. Pacing limit means what should hold you back - heart rate, leg strength, footing, heat, or race traffic. Fueling opportunity means whether you can actually eat and drink there, not whether you should in theory. A steep technical descent is a bad place to force calories. A smooth contouring trail after a climb is usually better. The likely failure point is where runners misjudge the section. Maybe it is the climb that starts easy and steepens. Maybe it is a false summit. Maybe it is the exposed traverse after an aid station where people leave too aggressively.
Once you do this, the course stops being one long unknown. It becomes a set of specific jobs.
Match terrain to your strengths and weaknesses
This part requires honesty. If you climb well but lose time on technical descents, your terrain analysis should show where that matters most. If you are strong on sustained grades but struggle with repeated steep rollers, that has pacing implications. If your fueling falls apart on rough terrain, identify where the course gives you smooth windows to stay on schedule.
Most runners make one of two mistakes. They either assume the course will suit them because one feature looks favorable, or they focus so much on their weakness that they race scared. Better approach: identify where you can gain time efficiently and where you need damage control. Every course has both.
Terrain analysis should change your pacing plan
If your pacing plan is based only on average pace per mile, it is probably wrong. Trail race terrain rarely supports even pacing in the road-running sense. What you want instead is controlled effort across variable terrain.
A steep early climb may demand patience even if it makes your split look slow. A runnable valley section may be the place to collect time without exceeding effort. A technical descent may require accepting slower pace to preserve legs and avoid mistakes. This is why mile markers often tell you less than segment demands.
Aid stations matter here too. Terrain between aid stations often determines whether your nutrition plan is realistic. Ten miles of moderate trail is one thing. Ten miles with a big climb, exposed ridge, and technical descent is another. The distance may match. The cost does not.
Watch for terrain traps
Some terrain features consistently create bad decisions. Long runnable starts tempt athletes into spending too early. Sharp descents before aid stations can make people skip calories because they are too focused on footing, then leave the aid station underfueled. False flats late in races can feel runnable on paper but become slow, grinding sections after enough vertical and fatigue.
Another trap is underestimating transitions. Going from climb to descent sounds like relief until you realize the top is rocky, crowded, and awkward. Going from smooth trail to technical singletrack can also break momentum fast. These shifts are where pace plans often fail.
Use training to verify what the terrain demands
Good terrain analysis should change your training in specific ways. If the course has long steep climbs, add sustained uphill hiking and running. If descents are technical, train downhill footwork when tired, not just fresh. If the course has repeated short climbs, practice changing gears without spiking effort every time the trail kicks up.
You do not need to copy the race perfectly. You do need to prepare for its demands. A course with smooth runnable sections between hard climbs calls for different training than one with nonstop technical disruption. The same goes for gear testing. Shoes, poles, pack setup, and hydration access all interact with terrain.
If you can preview the route data in detail, use it to rehearse race segments mentally. Know where the first real climb starts. Know where you should settle. Know where to expect slower going even if the map does not look dramatic. Familiarity reduces hesitation, and hesitation costs time.
The goal is not to predict every step. It is to remove avoidable surprises. When you know the trail before you run it, you make better decisions under stress. That is the real edge. Terrain analysis is not extra homework for overthinkers. It is how serious trail runners turn course data into race execution.
Race day always brings uncertainty. Weather shifts. Trails change. Legs do strange things. But when you have already studied the course section by section, the unknown gets smaller, and your decisions get sharper.